by Jonah Finkelstein, PE
PTV Vistro has been a powerful tool for us at Spack Consulting and has helped us save time creating traffic report figures and updating analyses as development plans change. Through this experience we have learned some tips and tricks that we use to help us be as effective as possible when using Vistro for network modeling.
TRICK – Add a new intersection after intersection geometrics and speed are input into the existing model.
Grab the existing intersection leg, where speed limits, road names, and geometry have already been input and connect this leg to the new intersection you are adding. This ensures that the link characteristics are not dropped. If you grab a leg from the new intersection and connect it to an existing link where characteristics are already entered these factors drop out, reset to the standard inputs, and require re-entering.
TRICK – How to add a new intersection after vehicle routes are entered in the model.
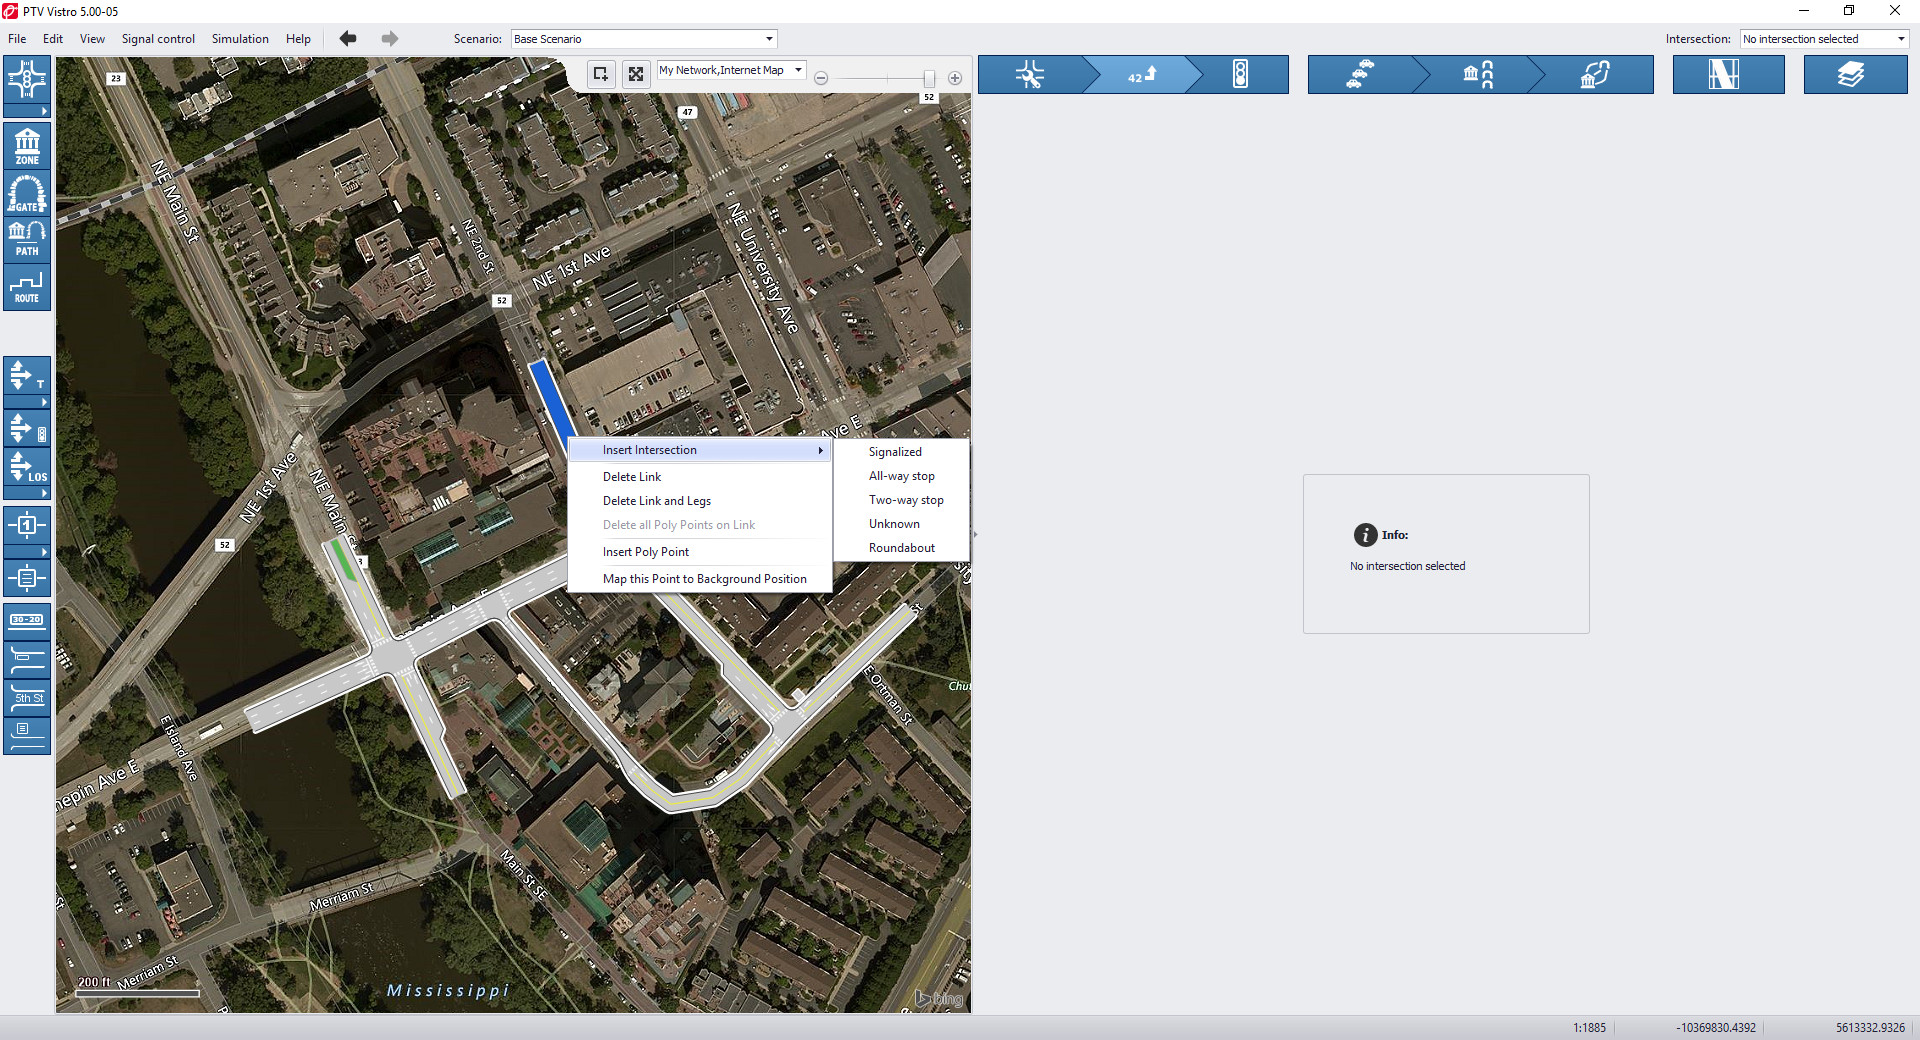
PTV has made updates which allow the addition of intersections on an existing roadway segment without dropping routes through the segment. However, this does not account for adding a new intersection to the edge of a model, effectively creating a new entering or exiting node. By right clicking on the existing entering link a new intersection can be inserted into the model. This will keep the route intact and ensures the route will not be deleted. Do not create a new intersection and connect it to the existing leg that the route is entering on as this will result in the route being dropped and require re-entering.
TIP – Set up the base model to include all future intersections.
Time is saved by setting up the base model to include all future intersections whether or not they are present in the existing scenarios. In the existing models these intersections can be turned off for analysis if they do not exist, or the intersection geometry can be changed in the existing models to reflect the existing conditions. The positive of entering these intersections in the base model is that it allows all routes to be drawn once and copied through all scenarios, which can be a significant time savings for larger roadway networks. If the intersections are not added in the base model multiple iterations of routes need to be drawn for each copied volume case scenario.
TIP – The Mitigation tab is a great quick comparison tool
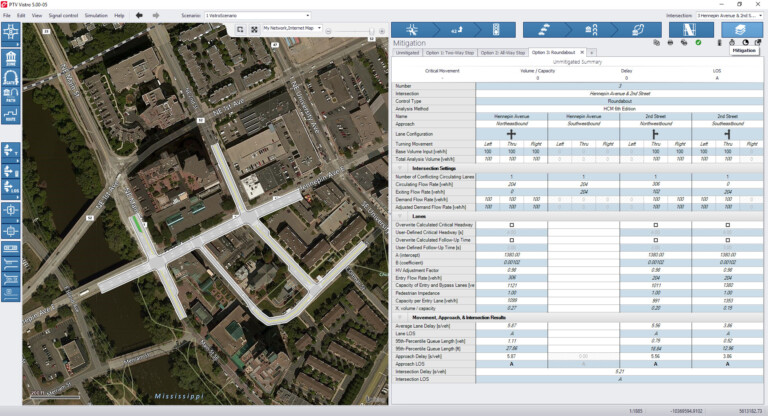
This tab allows multiple intersection control types to be compared in one Vistro scenario helping limit the number of total scenarios and removing clutter from the modeling process. For example, when testing if a roundabout or signal should be installed at a new intersection, both control types can be run in one scenario. Then, when one is selected for use, it can be added to the traffic control tab to print the results. When not using this feature a separate scenario would be needed for each traffic control type. When analyzing multiple peak hours these additional scenarios can quickly add up adding clutter and potential confusion to the model and scenarios down the road.
Though these tips and tricks may seem minor, they have helped us save significant time, by limiting the necessity of entering data more than once, decreasing the opportunity for errors in our analysis. Do you have any tips or tricks you utilize in Vistro or other modeling software? Let us know in the comment section below!
The post Vistro Tips and Tricks appeared first on .


